From an empty project to your first publication
This guide will walk you through the process of syncing your newly created project to Ozu and publishing your first pieces of content on the CMS platform.
Starting point
In this guide, we'll assume you have already created and configured a project on Ozu. Throughout this tutorial, we'll use the Ozu Demo (Visit) as a practical reference project to demonstrate each step of the process.
First, let's synchronize ozu-demo's collections with Ozu Dashboard, to be able to manage content for:
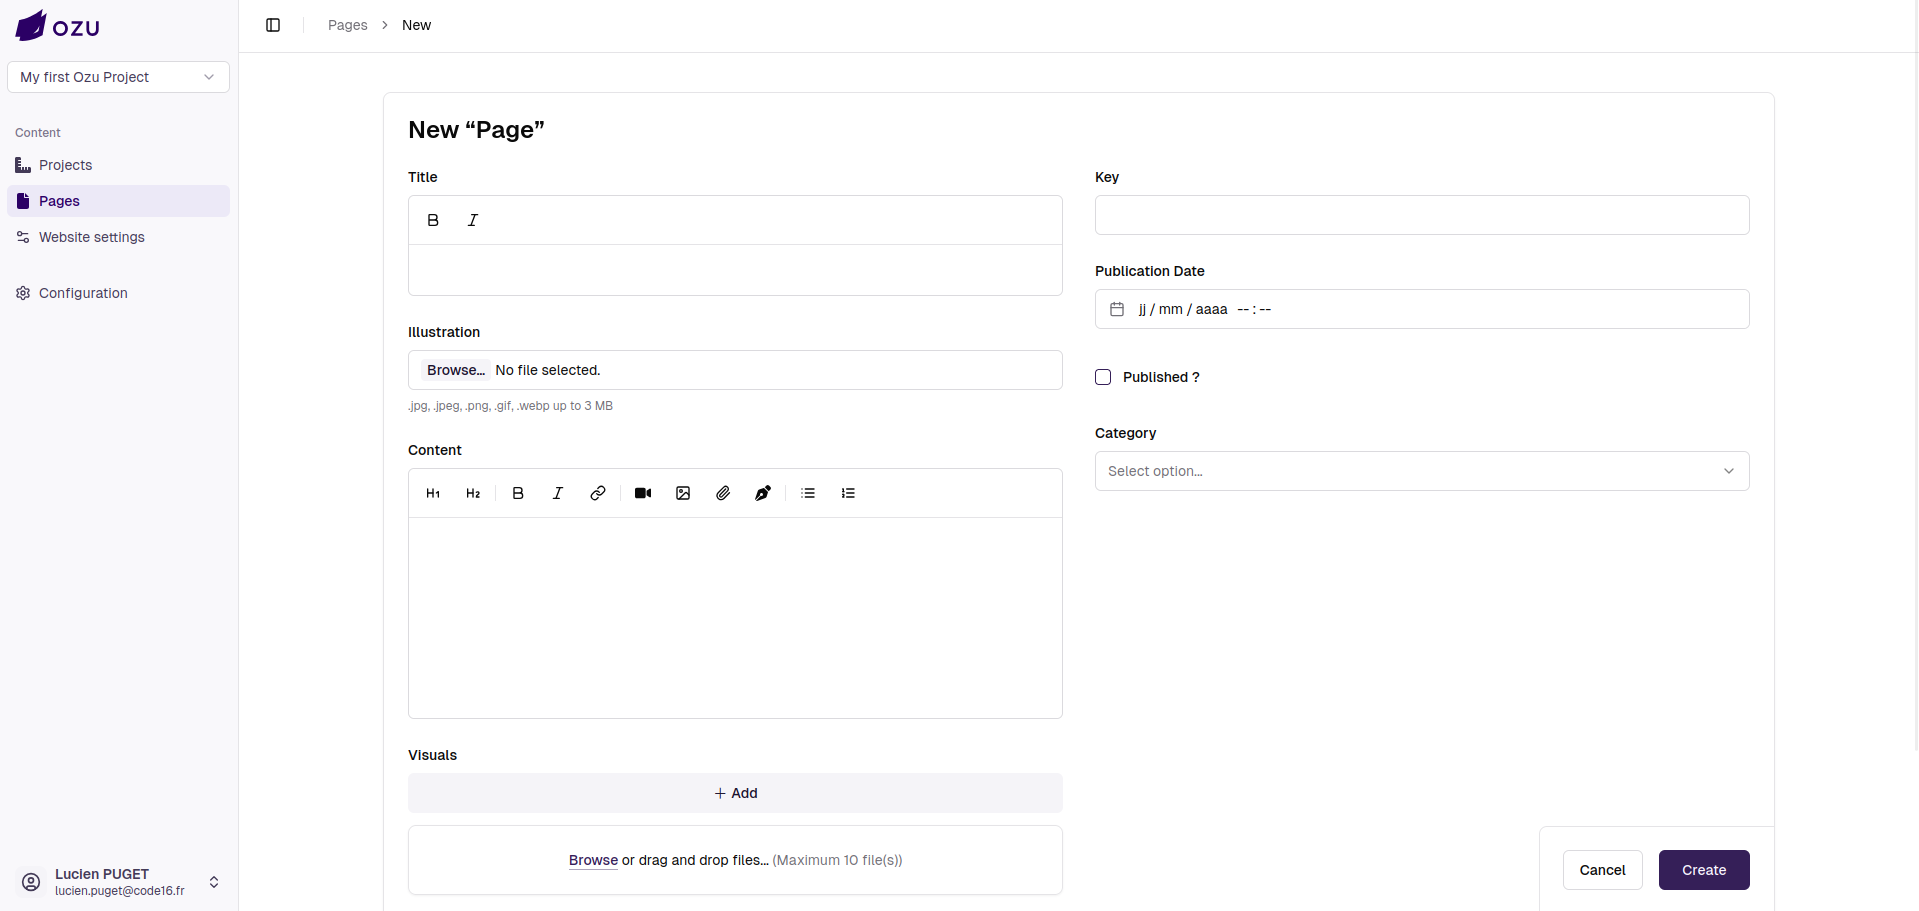
- Pages (with a title, an image cover, a content editor, a visuals list, a page key, a publication date, and a category selector)
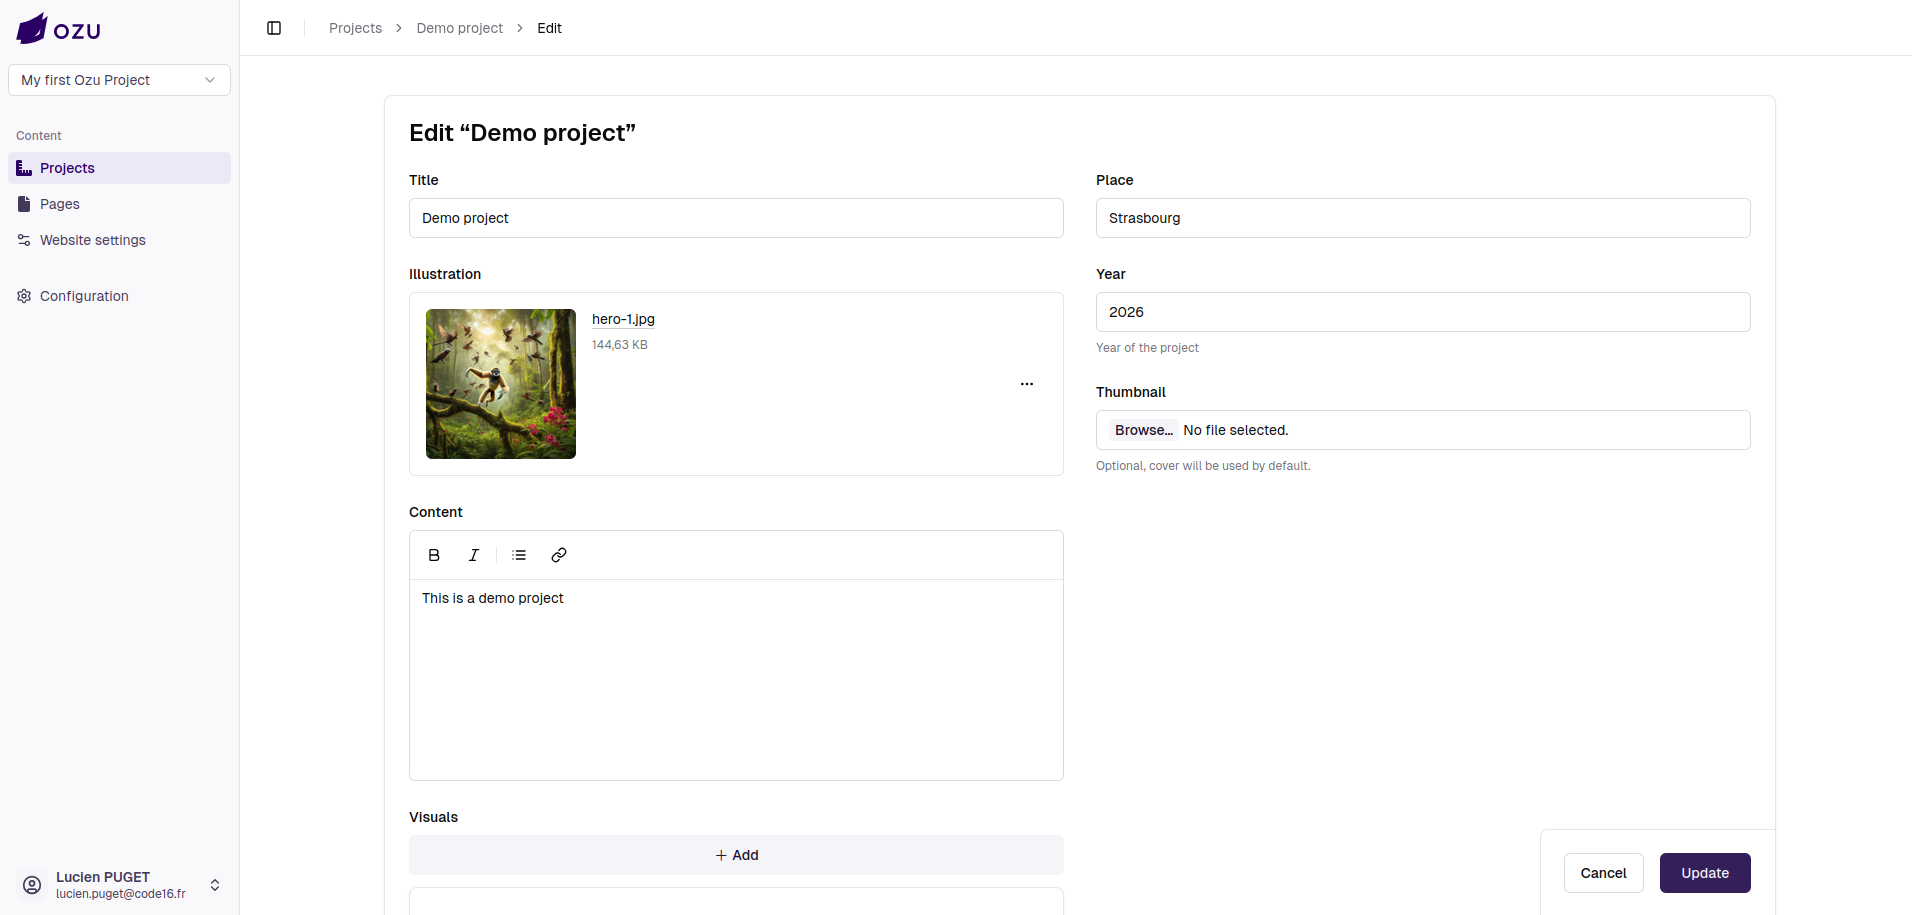
- Projects (with a title, an image cover, a content editor, a visuals list, a "place" field, a "year" field, and an optional "Thumbnail" image field)
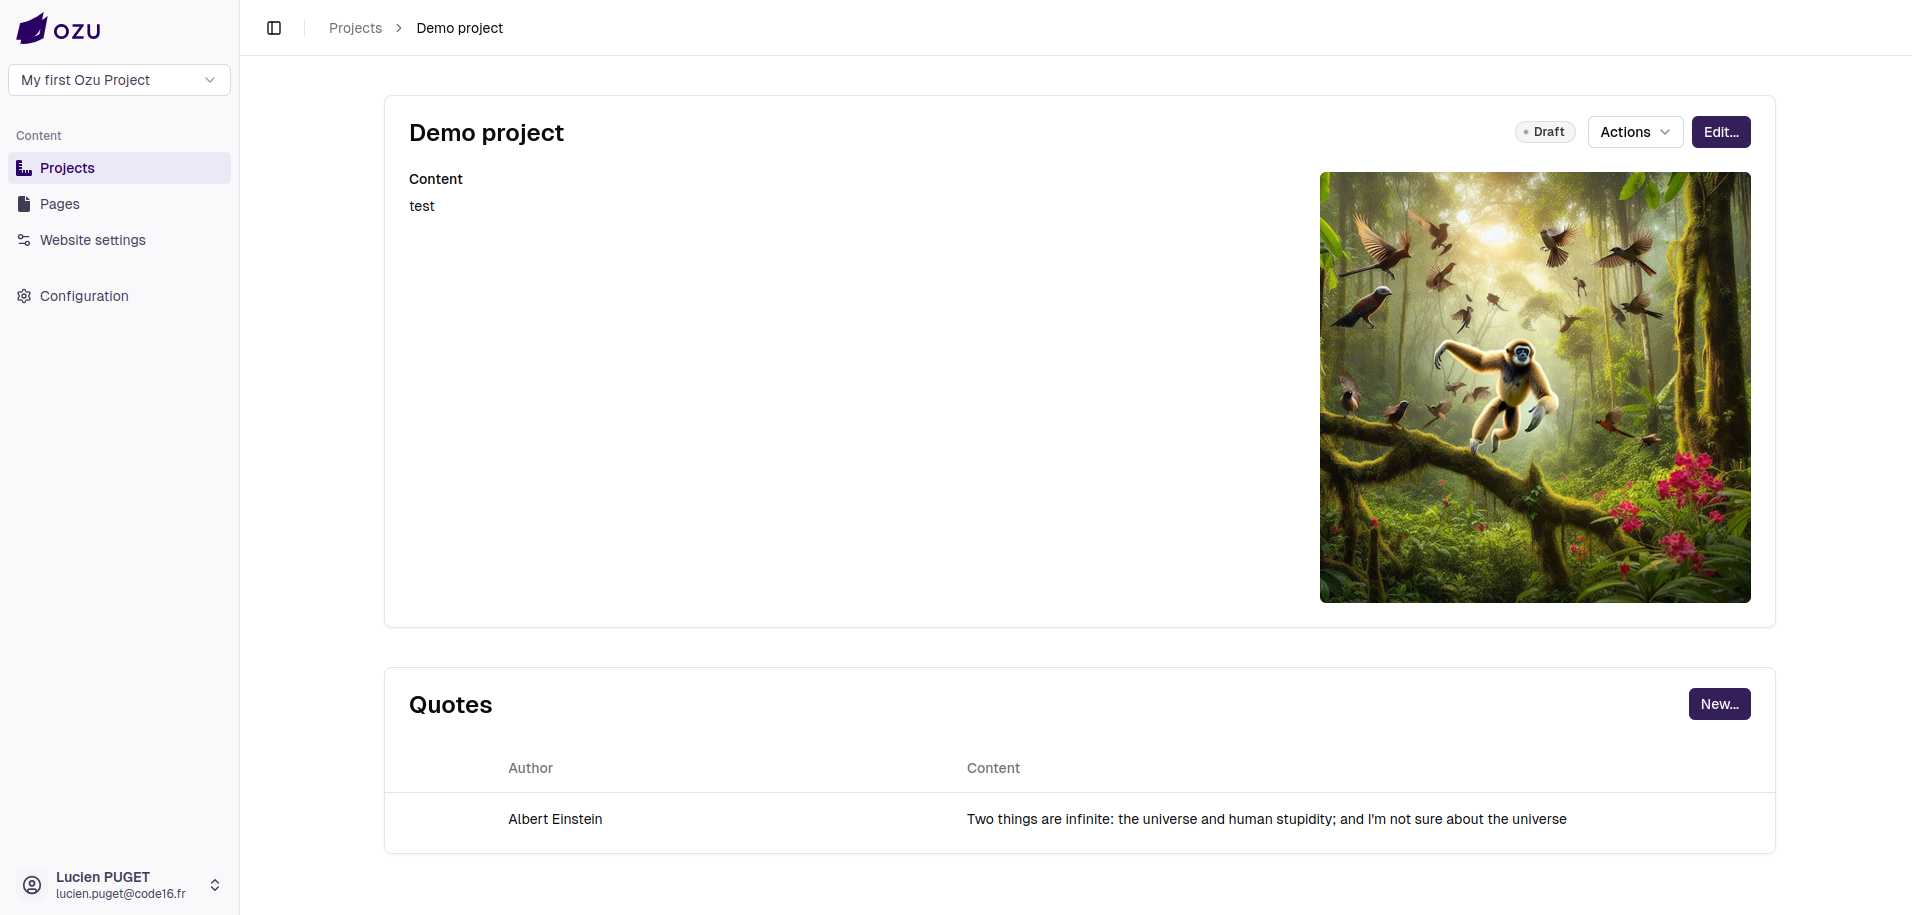
- Quotes as a sub-collection of Projects (with an author, an illustration, and a content editor)
This is how these collections are configured in the config/ozu.php file:
return [
    // List here your collections, i.e., the models that will be handled by the Ozu CMS.
    // You must also properly configure them (see documentation).
    'collections' => [
        \App\Models\Project::class,
        \App\Models\Page::class,
    ],
    // [...]
];INFO
You can see that the Quote collection is not declared in the collections array; it's declared as a sub-collection of Project in its model class (see below).
class Project extends Model
{
    use IsOzuModel;

    public static function configureOzuCollection(OzuCollectionConfig $config): OzuCollectionConfig
    {
        return $config
            ->setLabel('Projects')
            ->setIcon('fa-ruler-combined')
            ->setHasPublicationState()
            ->setIsCreatable()
            ->setIsDeletable(false)
            ->addSubCollection(Quote::class);
    }

    // ...
}Syncing our collections with Ozu Dashboard
We now have a project with two parent collections (Pages and Projects) and one child collection (Quotes). Their related models implement the configureOzuCollection, configureOzuCollectionList, and configureOzuCollectionForm methods (see Collection configuration, Collection forms, and Collection lists for more details).
We can now sync this configuration with Ozu Dashboard by using the php artisan ozu:configure command on your project:
user@host:/var/www/project$ php artisan ozu:configure
Syncing collections’ configuration with Ozu...

Update CMS configuration for projects...
Update CMS configuration for quotes...
Update CMS configuration for pages...
Syncing settings configuration with Ozu...

CMS configuration sent to Ozu.INFO
Here you can see that we have a Syncing settings configuration with Ozu... step in the sync process. This is because the ozu-demo project uses the Ozu Settings feature.
Connecting our GitHub source
 Now that our collections are synced and that we (should) have a configured deployment target, the last step before publishing our content is to configure our GitHub source.
In this case, I'm using the ozu-demo GitHub repository.
Congrats! We have met the publication requirements
We now have a fully configured project with an active GitHub source and a configured deployment target. We have synced our collections, and we can start adding content to publish.
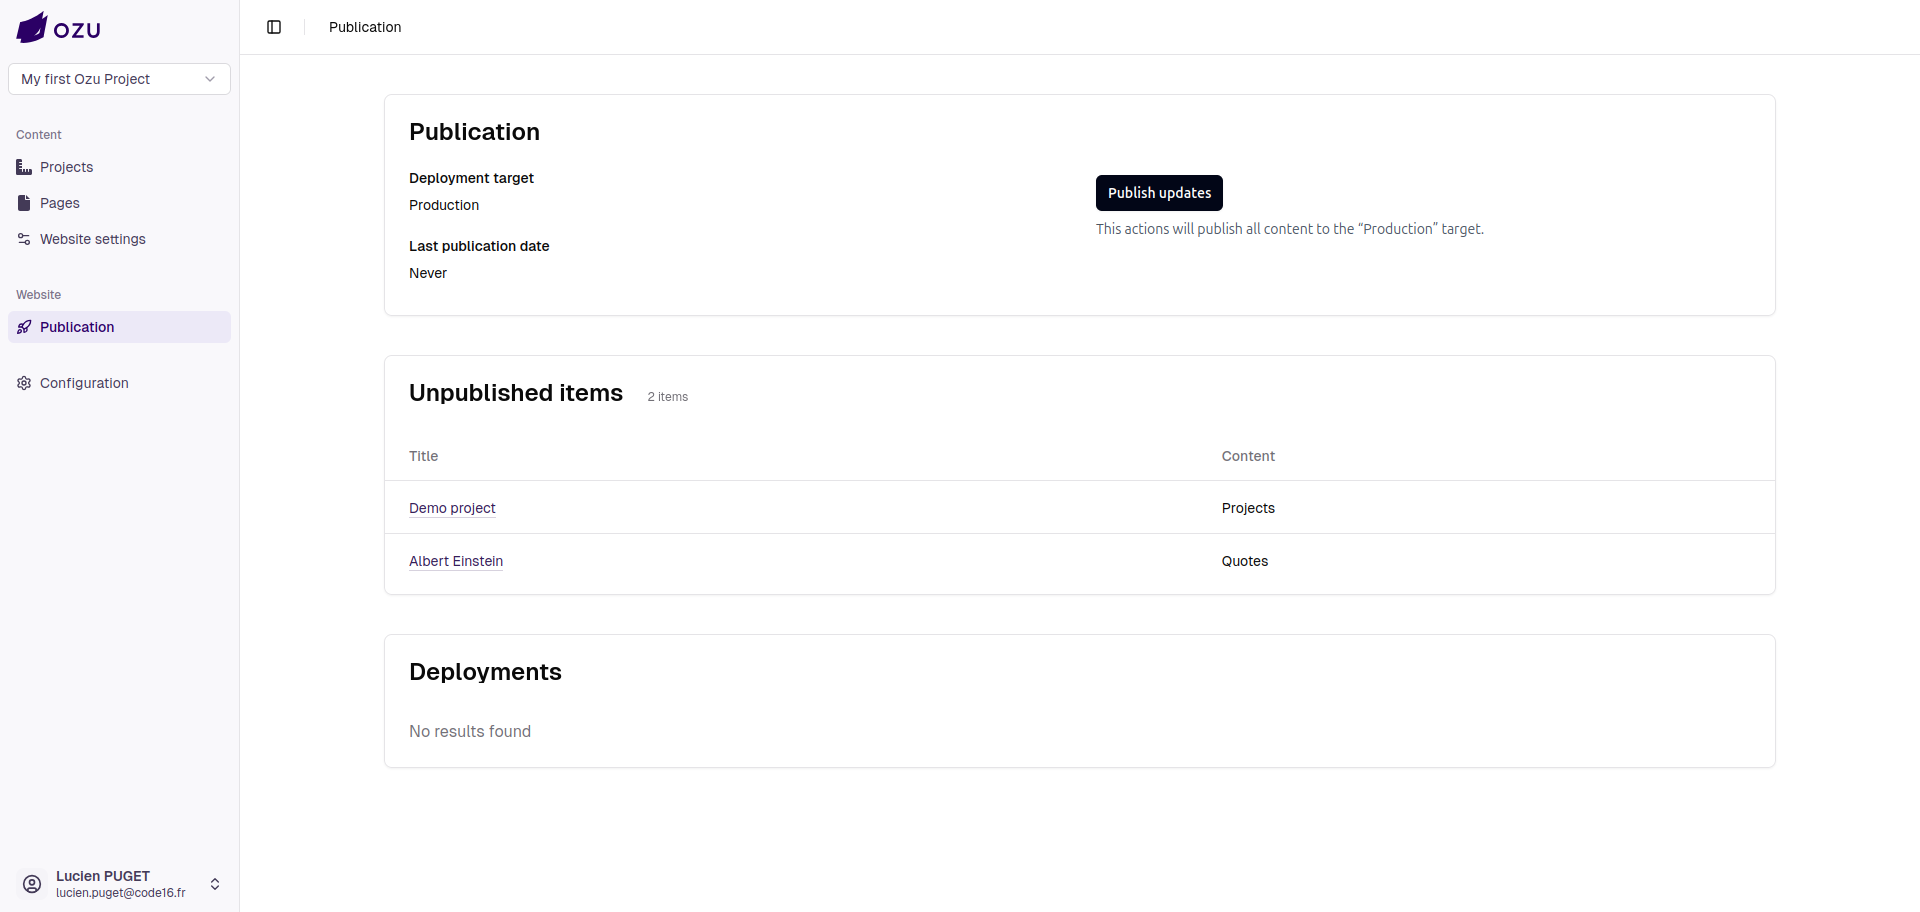
Our sidebar now displays a "Publication" option: 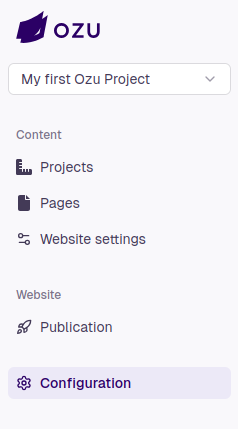
We can navigate to the publication page, and we'll see that we have not published our project yet.
The unpublished content that we created is listed, so we know what we are publishing.
Recap: Requirements for publication
To be able to publish your project to your server, you must have completed several steps:
- Created a project on Ozu Dashboard
- Created a Laravel project and required
ozu-clientin it - Set up some Models (Ozu Collections) in your code and synced it at least once
- Created a deployment target that is fully configured
- GitHub source is configured and installed