Create an Ozu project in the dashboard
The Ozu dashboard is where the magic happens: this is the place where you can manage your content, users, settings, and deployments.
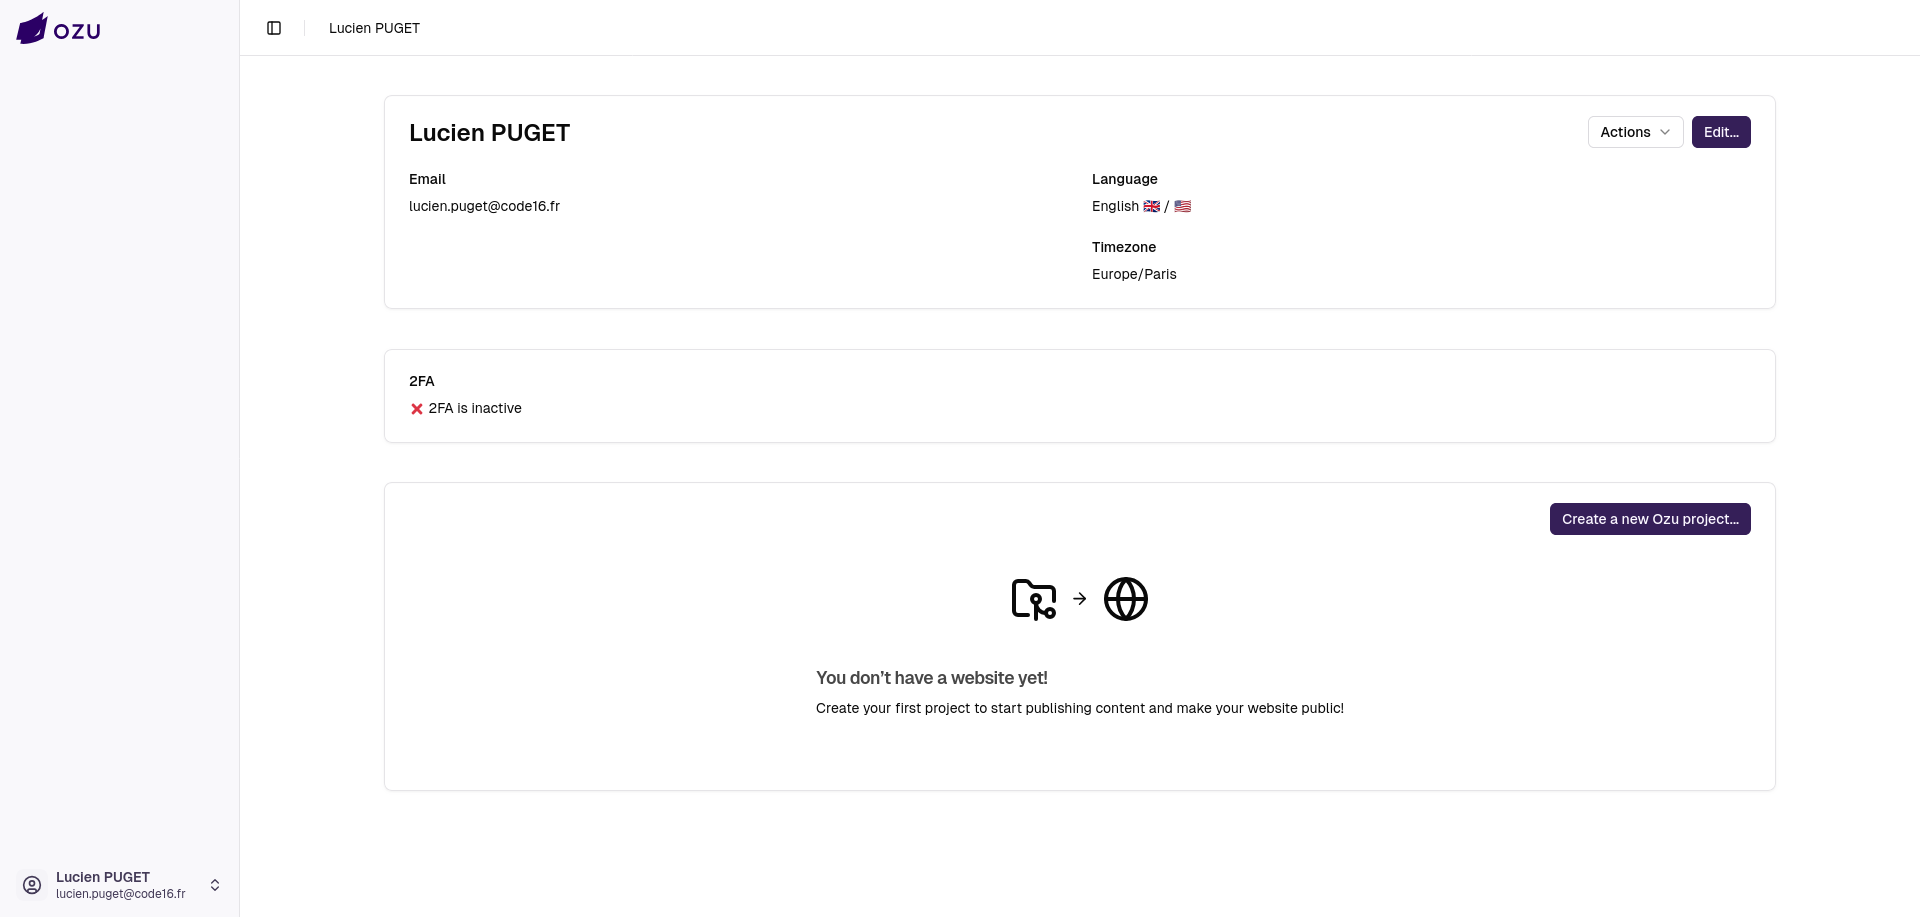
First login
The first time you access the dashboard, you'll end up on your profile page, where you can configure 2FA (recommended), change your password, and create your first project.
Creating your first Ozu project
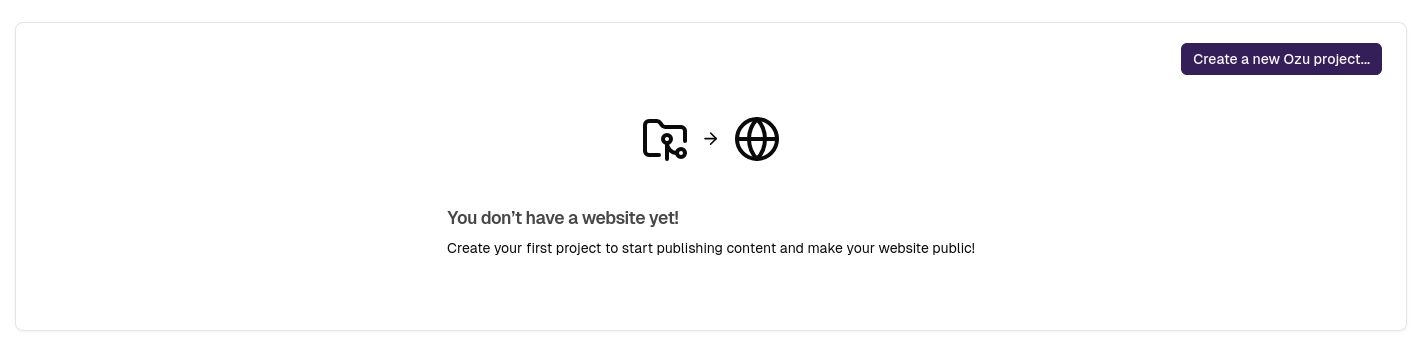
Start by clicking on the "Create a new Ozu project" button.
Choosing a name and a deployment environment
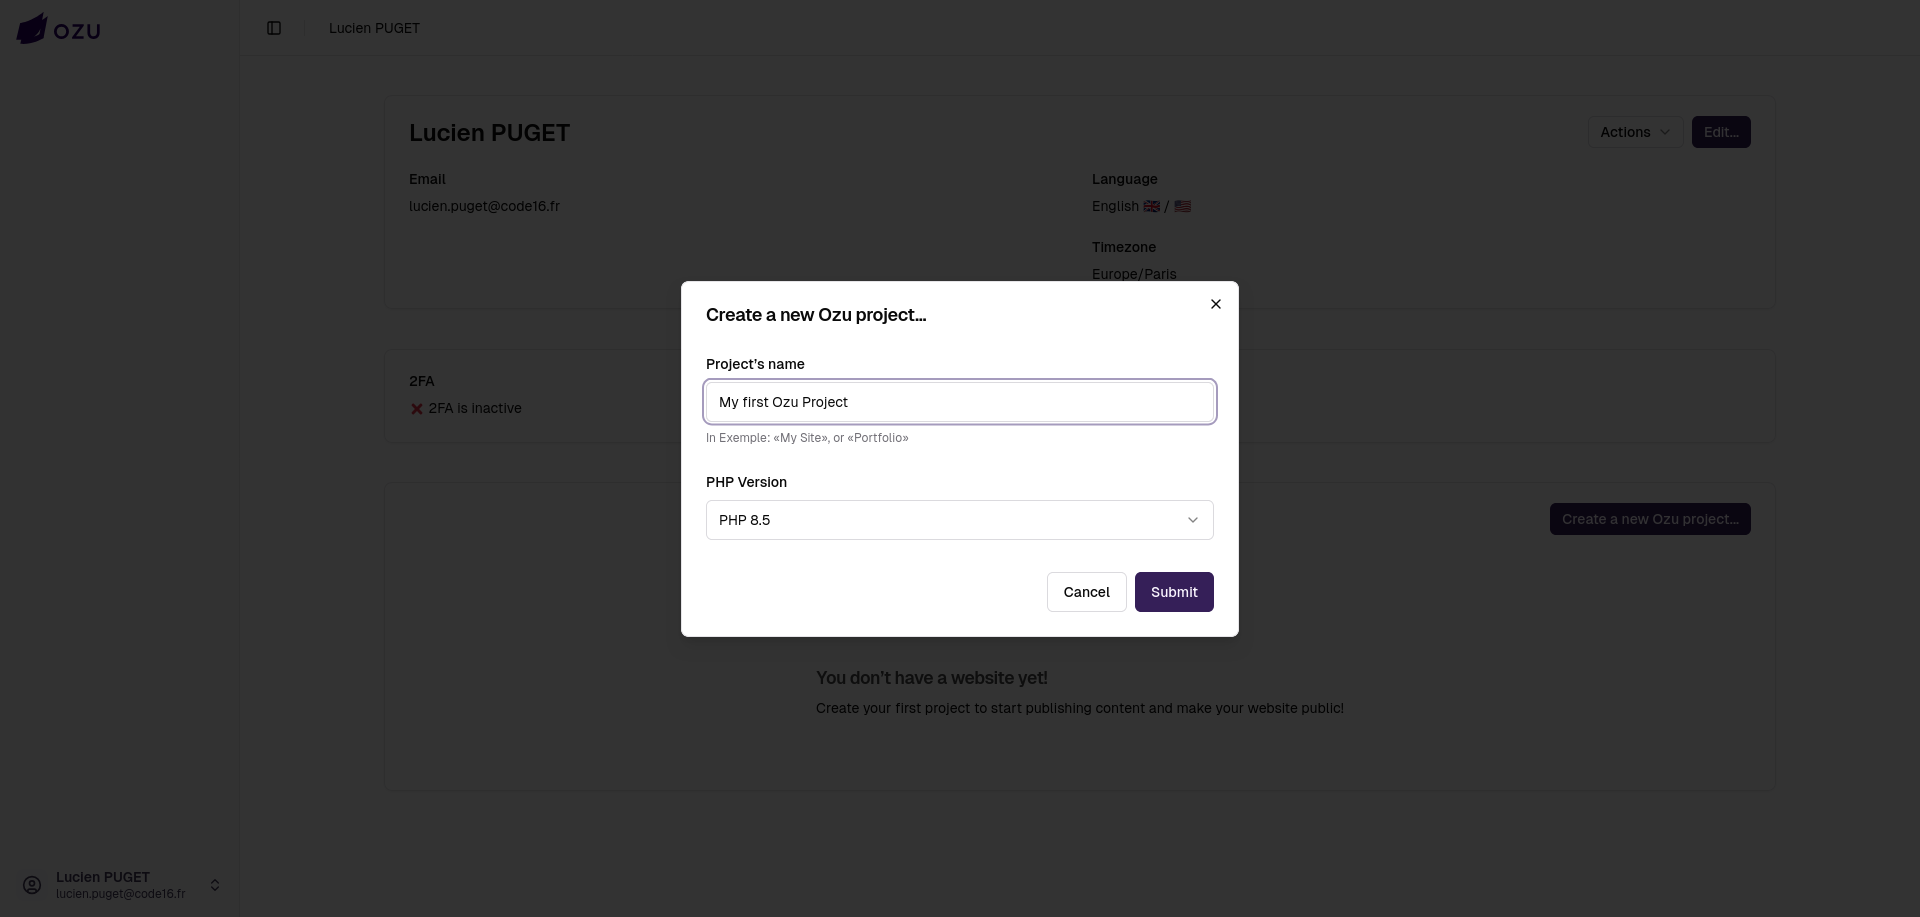
You'll be asked to provide a name for your project and the PHP version you want to use.
WARNING
Please refer to the available environments page to see which Node.js versions are available with each PHP version.
This will be useful later if you choose to build your assets while publishing your project.
Configuring your source repository
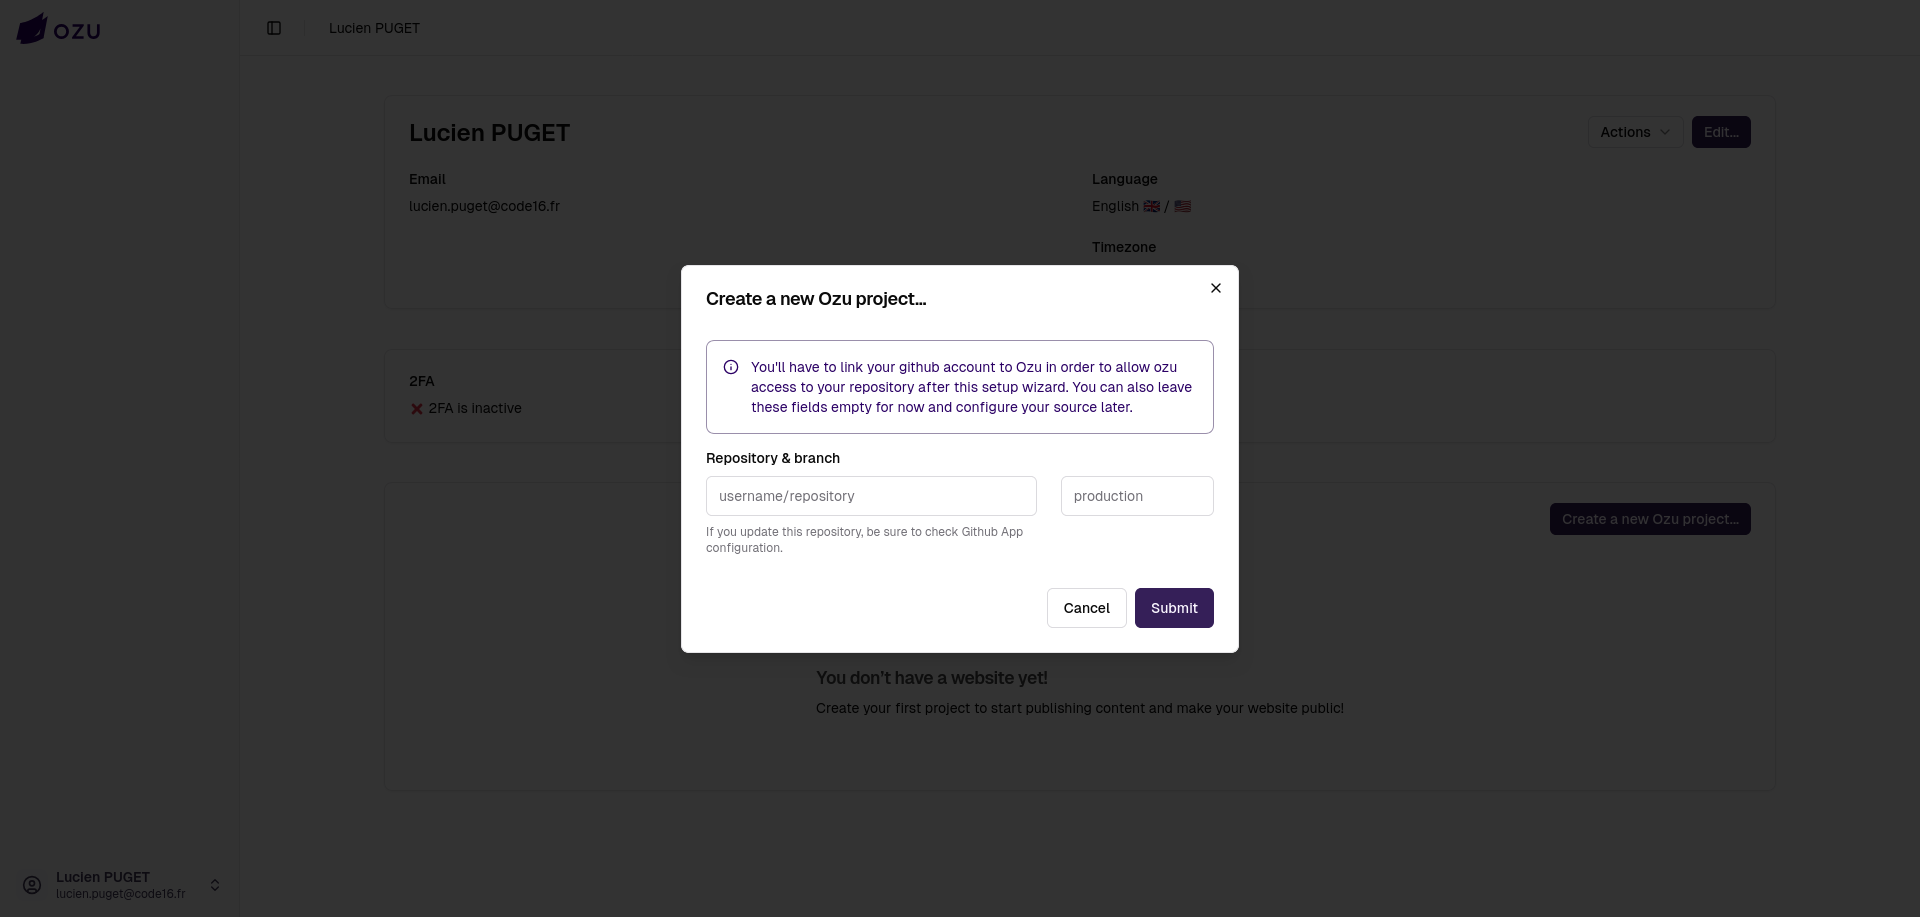
As stated in the alert on the screenshot above, you can choose to configure your project source repository later, just leave these fields empty and click "Submit".
INFO
For now, only GitHub is supported as a source.
Choose where you want to publish your project
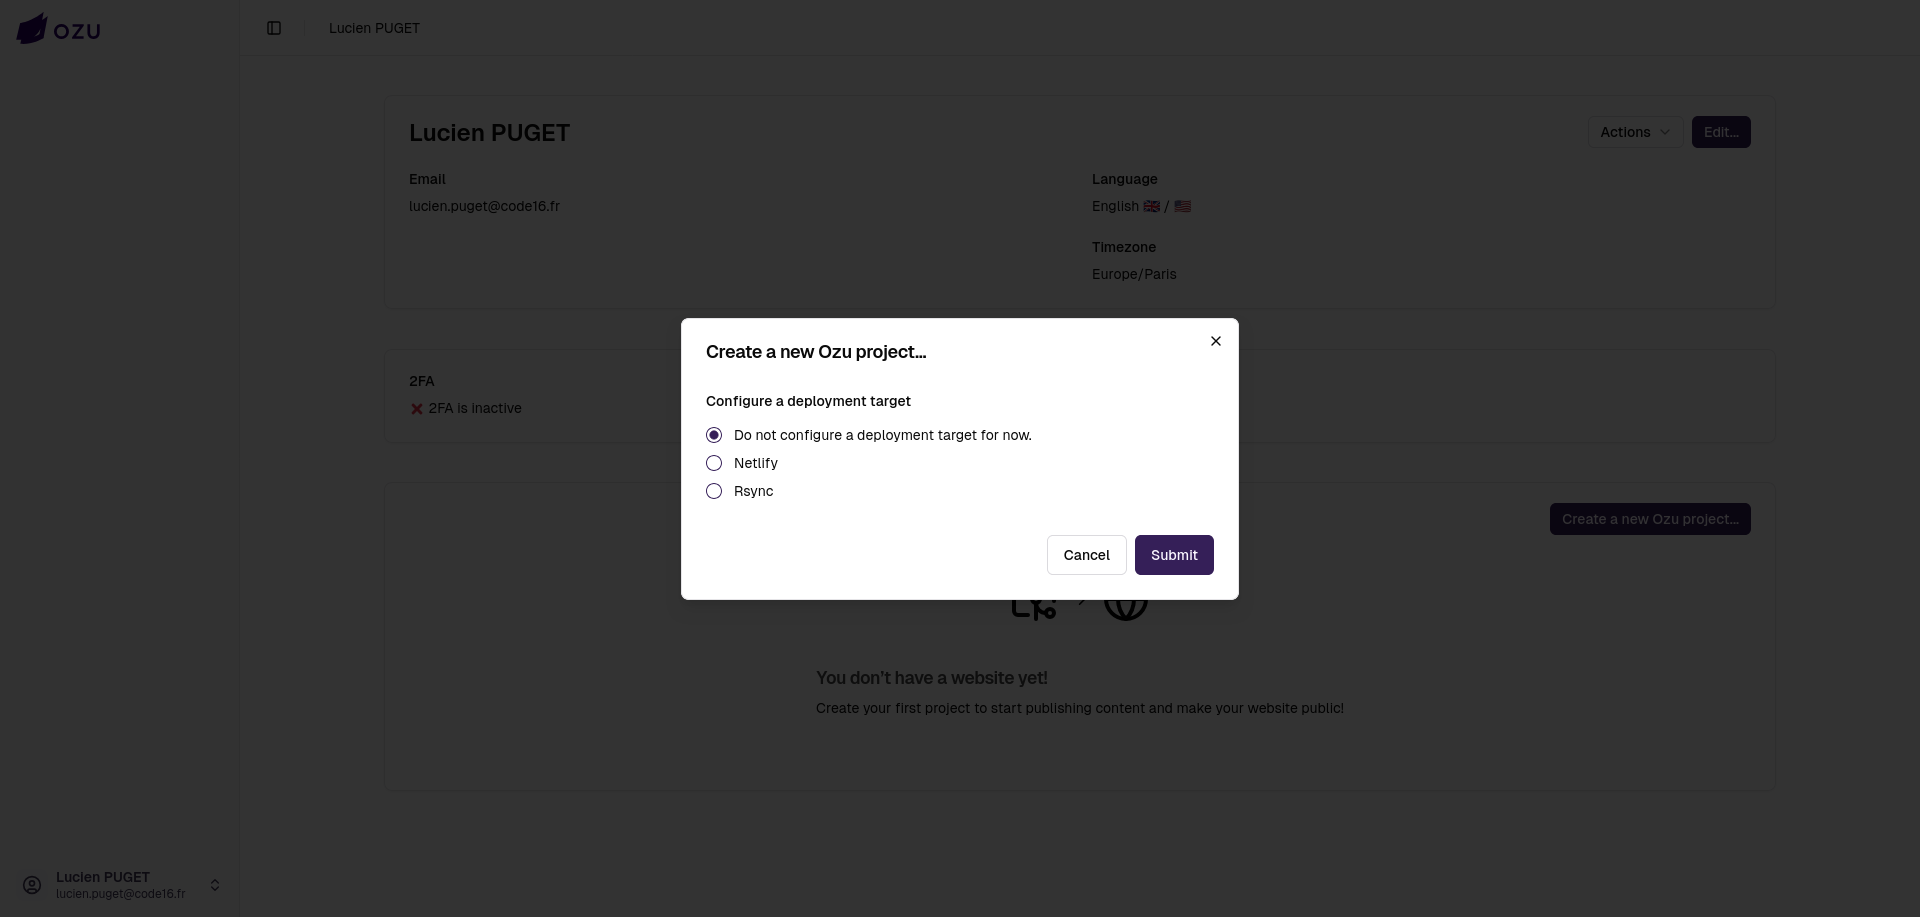
As of now, you can choose to publish your project on Netlify or via Rsync on your own server.
Like in the previous step, you can choose to configure your deployment target later, just select "Do not configure a deployment target for now".
Configure a Netlify Deployment Target
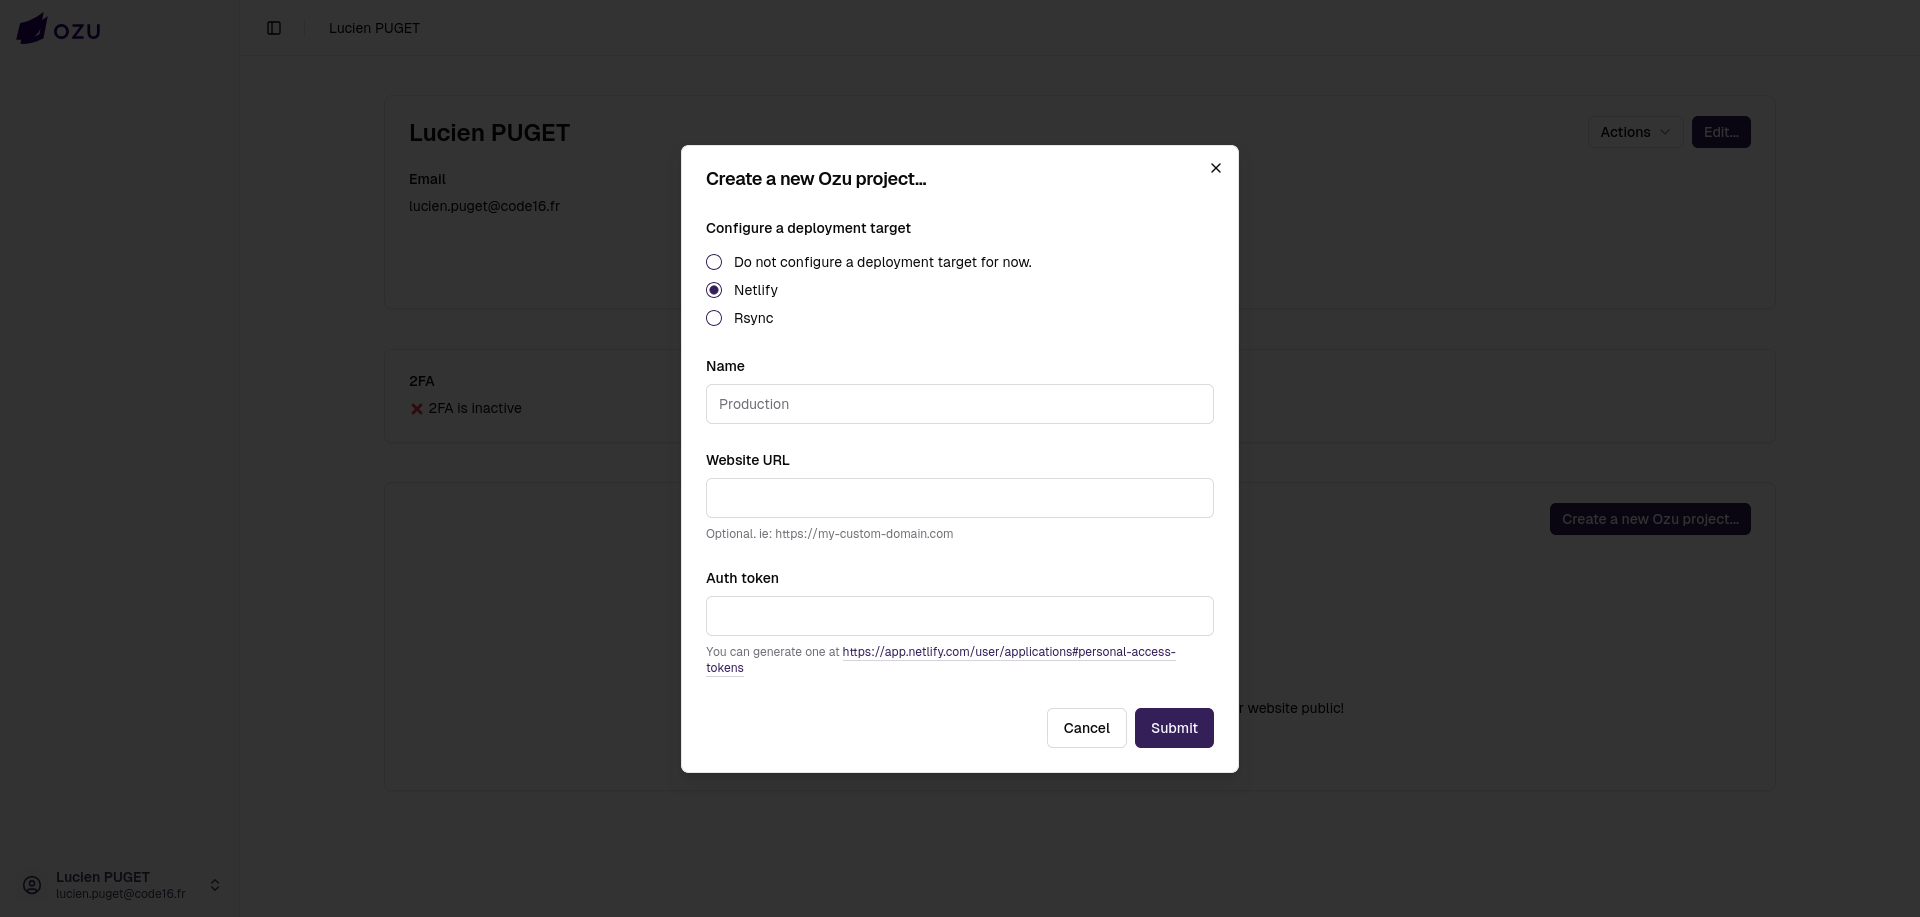
To configure a Netlify deployment target, you'll need to provide a Netlify Auth Token, which you can generate on your Netlify dashboard.
WARNING
Ozu creates a new Netlify site when configuring your project, do not create a website in advance, you will not be able to use it.
The name field in this form refers to the name of your deployment target, which is usually something like "Production", "Staging", or "Development".
Setting a website URL is optional; it indicates to Ozu that this target will serve your site on a custom domain.
Configure a Rsync Deployment Target
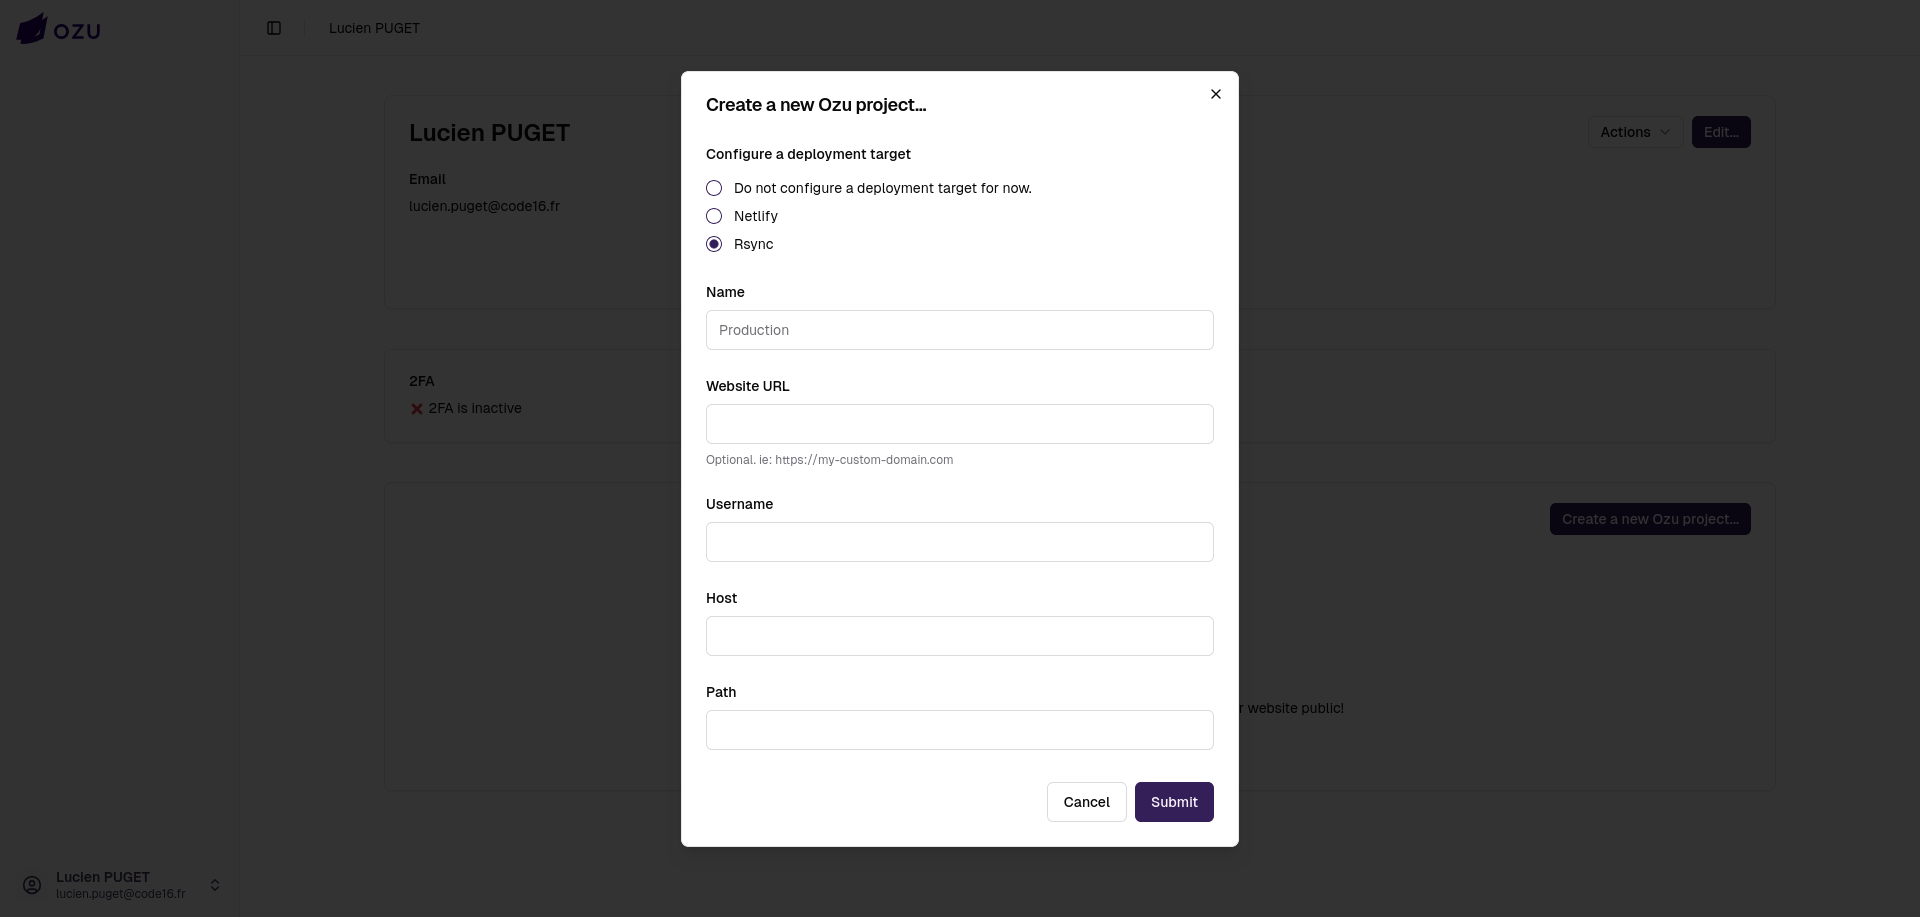
You can also choose to publish your project on your own server, using Rsync. In this case, you'll need to set up a web server and serve your project files in a directory accessible by a user with writing permissions and SSH access.
The name field here refers to the name of your deployment target, which is usually something like "Production", "Staging", or "Development". Setting a website URL is optional; it indicates to Ozu that this target will serve your site on a custom domain.
DANGER
It is strongly recommended to use a dedicated user for this purpose, since you'll have to give Ozu SSH access to your server via this user.
We encourage you to create, locally or on your server, a dedicated SSH key pair, set the public key on the server's authorized_keys file, and configure SSH access to only allow Ozu to access the specified directory.
INFO
You will have to set the SSH private key on your Rsync deployment target later, after the project's setup wizard.
Congratulations! You have set up your first Ozu project!

You're almost done! Copy your credentials into your project's .env file.
Before publishing your first project, you'll have to make some last configuration steps. In particular, if you chose a Rsync deployment target, you'll have to set the SSH private key to allow Ozu access to your machine.
If you chose not to configure a deployment target and/or not to configure a source repository, you'll have to do it later before publishing your project.
If you configured a source repository, you have to authenticate with GitHub to grant Ozu access to your repository.